Monday, January 31, 2011

Homemade Bread


Homemade Bread is a journey that I began about 6 months ago....this is one of those recipes that I tried several different ones, experimented, adjusted until I came up with a good slightly sweet, soft sandwich bread that my family as well as many families in my hometown just love! I am gonna show you how I make it ...however you know all you have to do is give me a call and I will make some for you!
The main reason that I began making bread was the cost! My husbands favorite store bought bread was costing me nearly $3 per loaf....my homemade version only costs about $.64 per loaf. Since this bread is very freezable and lasts for several days either on the counter or in the fridge I have a baking day once a week. I can make two batches of this recipe (or 4 loaves) and that generally last us the week. I make more depending on what I have going on that week, what is not used is frozen, given away, made into bread crumbs or croutons....so it never goes to waste around here!

Okay lets get started....The first thing that you need to do is proof your yeast. I use my stand mixer to make my bread so I just pour 2 cups of warm water, 2 tablespoons of yeast and 2/3 cup of sugar into my large mixing bowl! Stir this up until the sugar melts and then just leave it alone for 10 minutes.
2 cups warm water, 2 Tbsp dry yeast, 2/3 cup sugar
This is what it should look like....all bubbly and foamy on the top and milky tan liquid on the bottom. If it doesn't get foamy...you might want to start over and check your yeast or the temperature of you water because you didn't activate your yeast you killed it. Your water should be warm to the touch but not hot enough to burn you.
Proofed Yeast

1/4 cup oil and 1 teaspoon salt
Your next steps are easy...turn your mixer on, add 1/4 cup of veggie oil and 1 teaspoon salt. Once that is Incorporated add 5 to 6 cups of flour, one cup at a time....I normally add 5 cups let it combine completely and then add the 6th cup as needed to get the dough where it holds it shape and is not sticky to the touch.

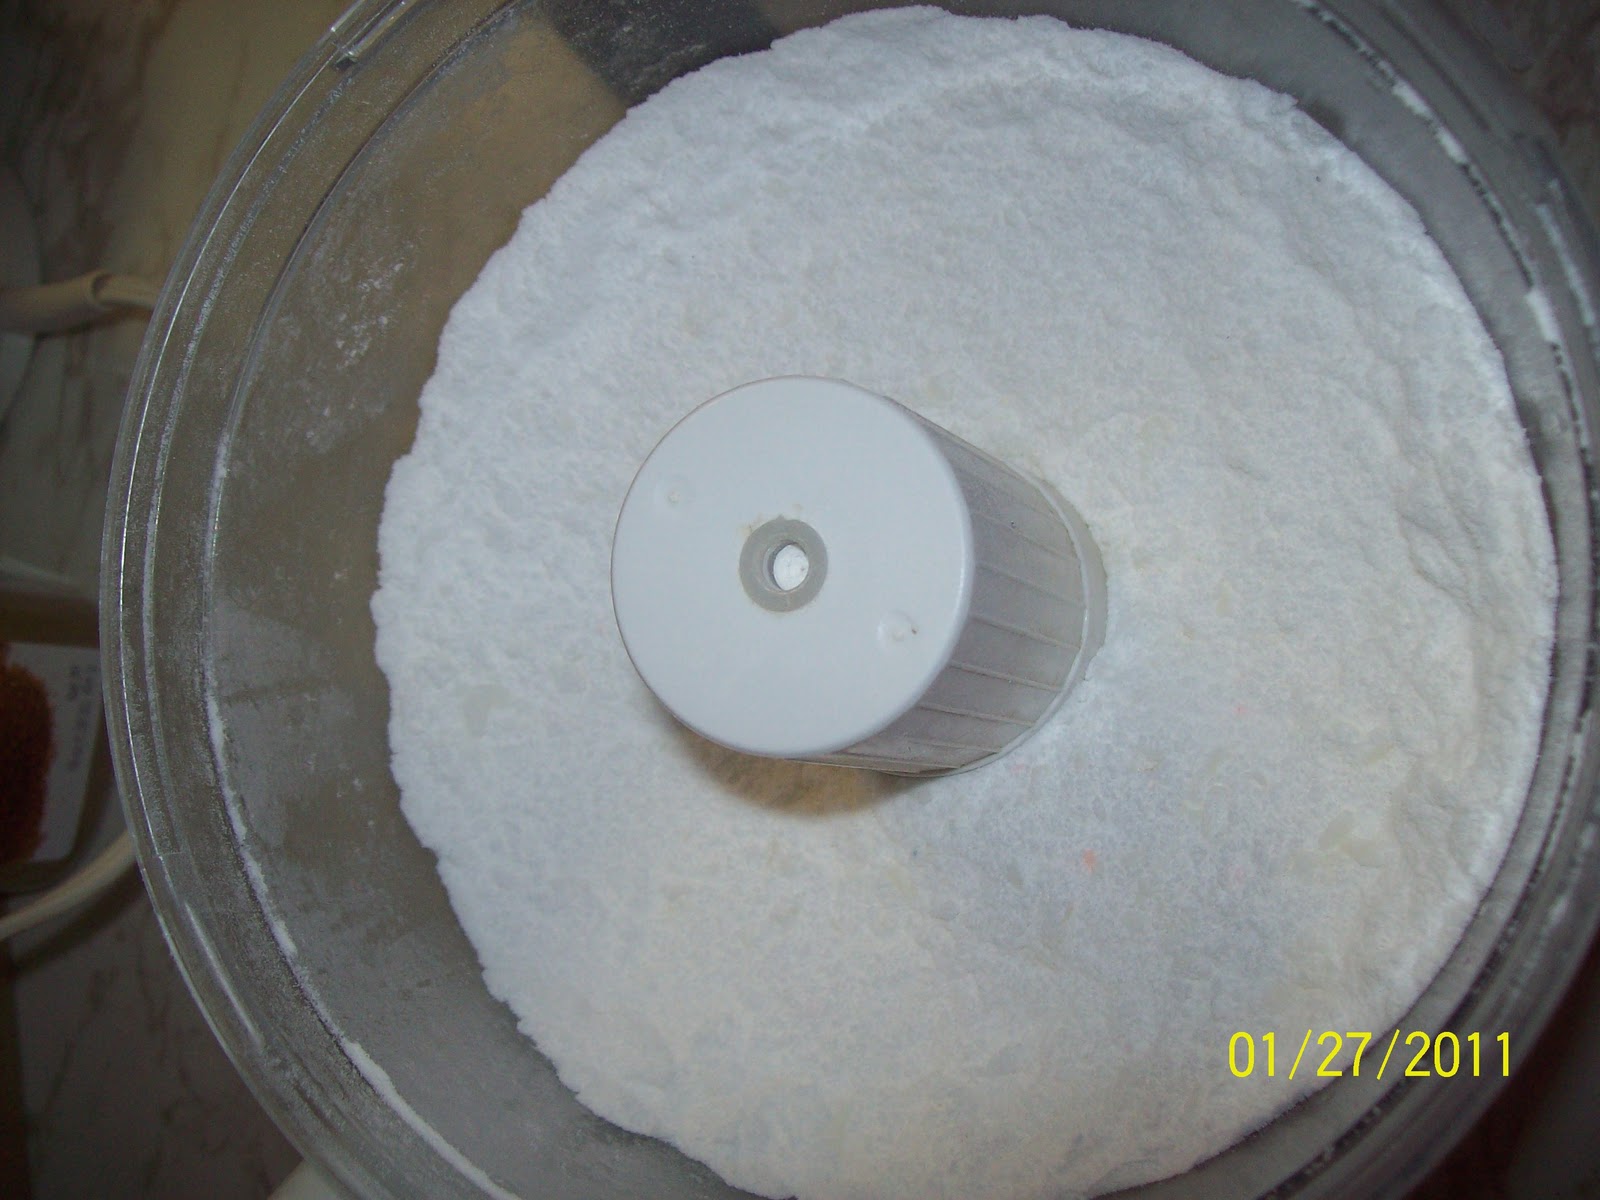
This needs a little more flour.
Okay now you knead....I am lazy and drive my Grandpa crazy because I don't do mine by hand. I use my handy dandy stand mixer. But I must warn you....when kneading babysit your mixer don't walk off! I got in the habit of walking off to take care of some other chore and mine fell off the counter one time! Thank goodness it didn't do anymore damage than popping the handle off....but my mixer walks when it is kneading my bread for 10 minutes!
Now this is what it should look like after kneading. Super stretchy, smooth and glossy! Remove your dough from your mixing bowl and place in a large greased bowl (I just spray mine with oil). Cover with a paper towel in a draft free place and let rise for 1 hour! 
Then it should look like this....doubled in size and all pretty! Now you get to punch all that puffiness down and divide this in half. Roll/form it into a loaf shape and place in your greased loaf pans, cover with paper towels and let rise for another 25 to 30 minutes.  
Now if you look closely...they didn't all rise the same....but that's okay, because they will rise one more time as soon as you get them in the oven. During early experiments I thought that what I put in the oven had to look like what I wanted to take out....I quickly found out that I was letting my bread rise too long (which effects the texture of your bread) and all that crown on top won't fit into a toaster to a sandwich bag. So as long as my dough is within an inch of the top of my pan or just above the top of my pan I bake it!!!

Now these guys go into a 350 degree preheated oven for 25 minutes. Please don't be tempted to take them out too soon if the tops are getting to brown for you place a piece of foil over the top and let them finish baking! It is awful cutting into a fresh loaf of bread to find out that the center is all gooey and didn't finish cooking! 
I remove mine from the pans and cool them on wire racks. When I am making for my family I take a stick of butter and rub it all over the tops , yummy. Now let this cool completely before slicing it if you intend on using it for sandwiches. It will slice better. Also note the wire racks that I have used to cool my bread on....I love these racks....when I slice my bread I turn it up side down (that way you don't have to cut through the crusty top and squish your bread) and these rack leave the perfect marks to use a guidelines when you are slicing! It sure does help me keep my slices even and neat! 

Now this is one of those recipes that you can morph into several different things. I will share those with you later...for now I will let you master my white bread!

Homemade White Bread Recipe
2 cups warm water
2 TBSP Dry yeast
2/3 cup sugar
1 tsp. salt
1/4 cup veggie oil
5-6 cups all purpose flour

Dissolve your yeast and sugar in warm water in a large bowl. Stir until sugar dissolves and then let proof (sit) for 10 minutes. When mixture is foamy add salt and oil. Turn your mixer on low speed and add one cup of flour at a time until your dough is stiff but not sticky. Knead dough for 7 to 10 minutes. Dough should hold it shape and be slightly glossy in appearance. Place dough in a greased bowl and cover lightly with paper towels. Let dough rise for 1 hours in a warm draft free place. When dough has doubled in size, punch down, and divide in two. Form into loaf shape and place in a greased loaf pan. Cover lightly and let rise for an additional 25 to 30 minutes. Bake in a preheated 350 degree oven for 25 to 30 minutes. Remove from pans and let cool completely on wire racks. Cover to prevent drying out and place in ziploc bags for storage. Can be refrigerated for several day, frozen for longer or eaten immediatly!!!

Flexibility

OK Folks...this is what I was talking about last night....flexibility with your menu plans. I went to my local grocery store (United, really love that place!)...to pick up a few things for the week...including pork chops for Thursday nights dinner (they have them on sale for $.99 per lb) what did I find.....
Whole Chickens and Pork Tenderloin
Pork Tenderloin and whole Chickens marked down to $.99 each...yes I said each not per pound!!! Because I happen to have a large freezer and love a good deal I picked up ten of each!!!! The chickens I will make awesome chicken broth, soup, casseroles and Tool Man's all time favorite Rotisserie Chicken. And the Pork Tenderloin I will either grill, stuff or make medallions!

As my brother says....You're such a nerd! ...I got all excited because I found meat on sale and brought it home and put it in the freezer! But lets do the math folks....each chicken was between $4.25 and $5.25 each....if I had bought them out right I would have spent $48.50. The Pork Tenderloin ranges from$7.50 to $9.....added together it was $84.27. I spent $9.90 on each....
So when you add that all together....I would have spent $132.77.....I spent $19.80....and I saved a whopping $112.97!!! Yeah Me!!!!

Needless to say....On Thursday we will be having some version of Pork Tenderloin instead of the Oven Baked Pork Chops! Hoping you all have a wonderful week! Don't let Monday's get you down!!!

God Bless, Mama D

Sunday, January 30, 2011

Menu Plan for 1-30 to 2-5

Well it is the beginning of a new week, and nearly the beginning of a new month. Which means I sat down this weekend and made out my menu plan for the month. Yes I said month...it's really not all that hard if you come up with a system.... I have a list of all the different dishes that I like to make out of a certain type of meat (i.e. ground beef, steak, chicken), then quick and easy meals and meatless (i.e. Beans and cornbread). I have dedicated Fridays be Pizza day and Saturdays are WYCF (whatever you can find). So that really only leaves me 5 days of the week to plan for. I buy groceries 2 weeks at a time and the menus planned for that week are just guidelines for me....if I don't feel like cooking that dish that night I pick a different dish from the menu. I also have meals in the freezer that I make....more details on that in another post. I also have to take into consideration my husbands work schedule that changes every week and sometimes daily.

Another thing that I do that is different....I only PLAN one meal a day. Let me tell you a little about my family. The Tool Man Tim works at least 8 hours a day on rotating shifts...so depending on what shift he is on depends on when I cook that day, when he is working 3pm to 11pm I cook lunch, when he works 7am to 3pm I cook dinner, when he works 11pm to 7am I generally cook dinner and he doesn't eat until right before he goes to work. My daughter, Bear is in 1st grade and normally takes her lunch to school and eats when she gets home from school. Oh and lets not forget my Grandpa...he is 87 years old and my job is to take care of him daily...about all he lives for is to eat...and I have to be careful with him because he is diabetic. Me...now I don't eat very much because I have had gastric bypass and tend to eat like a 2 year old. 

That being said I buy groceries for the meals I have planned, breakfast foods and sandwich fixings. Breakfast is a big deal around here, on just about any day of the week you will find me making sausage, toast and scrambled eggs...that is Grandpa's favorite! I also make pancakes, biscuits and gravy, bacon, fried eggs, omelets...you name it! Sandwiches get sent in the Tool Man and Bear's lunches along with leftovers for the Tool Man! So now onto my menu plan for the week!

Sunday
Ham (pan fried), English Peas, Potato Patties and Cornbread

Monday
Beef Stew and Cornbread

Tuesday
Lasagna, Corn on the Cob, Salad, Garlic Bread

Wednesday
Oven Baked Pork Chops, Baked Potatoes, Broccoli and Cheese, Homemade Bread

Thursday
Homemade Pizza and Salad

Friday
Enchilada Dinners (my Lil' Sis sold me tickets to help with her Band Trip)

Saturday
WYCF

Now just so you know I intend on sharing my recipes and how to make the things on the menu....it is just gonna take me a while...so there will probably quite a few posts over the next couple of months. Hopefully I will be able to incorporate my recipes with the other things that I have going on in my life and in my head....I hope everyone has a blessed week and those of you who live close...ya'll stay safe and warm this week!
God Bless, Mama D

Thursday, January 27, 2011

Do-It-Yourself : Laundry Detergent

Homemade Laundry Detergent
One of the biggest money savers in this house is Homemade Laundry Detergent! It literally took me about 30 minutes to make a quadruple batch this afternoon, stopping to take pictures and all! This will last for several months since you only use 2 tablespoons per load. The only real problem making this is finding the ingredients all in one store! In my little town you have to go to two different stores to find everything you need....but considering I normally go to both stores during my bi-monthly grocery shopping it's not really that big of a problem. This recipe only has three ingredients, they can all be stored in the pantry and two out of the three are used in Homemade Dishwashing Detergent (I will talk about this at a later date).

Did you notice earlier that I said this is a money saver??? My darling "Tool Man" just loves to figure out what things are actually costing us. He watches the effort it takes me to make things homemade and figures out if it is actually worth the it! I love my husband he is so cool sometimes! We figured out that for each load of Tide (my detergent of choice) it was costing appox. 24 cents per load and with my homemade mixture it cost about 6 cents per load. That's one-fourth of the cost folks!!!

So here is how you make it.....

Gather your tools. I use two BIG bowls, an old food processor (totally unnessary but you can normally find one at Goodwill or a garage sale for a couple of dollars or you can use a blender), a grater and a large spoon for mixing.

*Now just so that you know this is a large batch...if you just want to make a small batch just divide the dry ingredients by 3 and only use about 1/2 of one of the bars of soap. 

1-3 lb. box of Super Washing Soda (appox. 6 cups)
1 box of Borax (measure out 6 cups)
2 double bars of Zote Soap (white or pink)

*I measured out the Super Washing Soda ( NOT BAKING Soda....WASHING SODA) and adjusted the other ingredients to fit. That way I could use a whole box of Washing Soda.

1. Grate your Zote soap into a large bowl.
2. Measure your Borax out (6 cups)...this tends to clump but don't worry about that for now. Pour that in with you soap.
3. Pour in your box of Washing Soda and mix.
At this point I put mine in my food processor and pulse until the soap is in small pieces and all the ingredients are blended well and clump free. If you don't have a food processor or blender this can be done by hand, just mix and mix and mix and mix. If you are gonna do this by hand it helps if you unwrap the Zote Soap and let it set out for several days....it will dry out and grate finer.
This is what it looks like after I have put it through my food processor. I give it one more good mixing before putting in my stoarge container.

Only add 2 tablespoons of this mixture to each load of wash. I took an old scoop from something??? measured 2 tablespoons into it and marked it...but a coffee scoop or baby formala scoop would be just about perfect. According to my Momma (who learned the hard way) this is plenty and if you use more you have to rinse your clothes a second time to get it all out!

This mixture doesn't have much odor to it at all so if you like your clothes to smell a certian way you can add a couple of drops of essensial oil to the detergent during the mixing process.

For those of you that like to use the "Free" products at the store...you can't get much more free than this! It is also great for those new High Effeciency washers....because no suds!

I hope you will all try this at home and see how much money it saves you. Or you could have a loving daughter like me...Momma just brings me her empty container and supplies and I make it for her! Of course she comes over and helps me completely clean my kitchen ever so often...so it all comes out in the wash!

Have a great day and God Bless! Mama D

What to do with Leftover Mashed Potatos....Idea #1

This past weekend my 'Big' Little brother came home for a visit. Because he is single he likes to have Momma and I cook all his favorites in the short amount of time that he is here. One meal that he always asks for is Chicken Fried Steaks and mashed potatoes! He loves it when we make lots of extra steak so that he can snack on it on the way home...as a result the leftover steak gets eaten but none of the veggies. I happened to have a margarine tub of mashed potatoes leftover along with a container of whole kernel corn. It is perfectly good food....just needs to be remade a bit!

I am gonna warn you folks....I have a tendency to read half a dozen recipes for the same dish and combine them all to make my own unique dish that may or may not resemble the original idea or recipe! What I made today is Shepherd's Pie.....with what I had leftover in the refrigerator and what was in my pantry.

Shepard's Pie Mama D Style


1 margarine tub of leftover mashed potatoes (I probably used about 4 cups)
1 container of leftover whole kernel corn/creamed corn (equivalent of 1 can)
1/2 chopped onion
1/2 chopped green bell pepper
1 can English Peas - drained
1 can Carrots - drained
Grated Cheese
1 lb. ground beef

1 or 2 cloves of minced garlic
salt and pepper to taste
1 tsp. Beef Base (this is kinda like adding a beef boullion cube or a little beef broth....feel free to subsitute a little chicken stock just flavor or omit it!)
Worcestershire Sauce - to taste

1. Brown you ground beef with your chopped onion and bell peppers.
2. Drain meat and add you flavor trio....garlic, beef base and Worcestershire sauce. Salt and pepper to taste.

Now this is a rather large skillet of ground meat...so I only used about half of this. I allowed the mixture to cool and popped it in the fridge for another meal tomorrow...or I could have put it in the freezer.

3. Mix your meat mixture with your drained veggies. Place in a 9X13 casserole dish or depending on the amount of veggies you have a smaller dish.
4. Spread you mashed potatoes over the veggie mixture and sprinkle with cheese.


5. Bake at 350 degrees for about 30 minutes.

I served mine with a slice of homemade bread. You could serve it with a nice salad but I figured you have you meat, starches and veggies all in one pan...why complicate things with salad! This is one of those versatile recipes that you can customize to your hearts content. Change up the veggies, change the meat, change the flavorings, add herbs. My family has really simple tastes and really doesn't like it when I have too many flavors going to so I tend to season with salt and pepper and call it good. Make it your own!

Monday, January 24, 2011

Flash Freezing

One of the main things that saves me tons of time in the kitchen is flash freezing veggies! The main ones I freeze are onions, celery and green bell peppers. I love adding all of these to my meals but some days I am just not in the mood to get onion juice all over my hands....or I just plain don't have the required item fresh. Living 7 miles outside of the city limits makes running to the store to pick up an onion impractical!

So my solution is to stock up on the veggies that I know that I am gonna use frequently when they go on sale at the local supermarket or when I make a trip to Sam's Club.

1. I chop everything up at one time

2. Place a single layer of them on my cookie sheets.

3. Pop them in the freezer for a couple of hours (or a couple of days when I get distracted and forget).

4. Then I take a spatula and scrape them all up, place them in a zip loc freezer bag and the next time I need a cup of chopped onions I just reach in my freezer and grab a handful!

I find this especially usful on celery...for some reason every recipe I have only calls for a small amount of celery...and my family is not real big on raw veggies, so I always end up with limp celery in my crisper before I can get it all used up. Now I just freeze what I don't use and have it for later!
Freezing them in a single layer keeps them from forming that hated block of onions that you get from placing them freshly cut in a bag! They are loose, easily measured, and compact! Just take out what you need and throw the bag back into the freezer!

Now I have only tried the three veggies mentioned above (onion, celery and green bell peppers) and they do great! What veggies do you freeze??

"http://feeds.feedburner.com/MamaDsNiftyMinute"

Hello Blog World!

Well off I go on a new adventure! This is my first ever attempt at writing, publishing, blogging...you name it! But I feel that I have a lot to offer so here we go...

My goal with the Nifty Minute is to share with you what I do to make my life easier, make my families life better or just generally live. I love to cook! So many of my posts will be centered in the kitchen. But I have many interests and many things catch my eye! I hope that you enjoy this blog! Talk to you soon! Mama D